Commercial Truck VIN Verification: DOT Requirements and California
October 18, 2025
Imported Vehicle VIN Verification: Gray Market and Federal Standards
October 18, 2025
You need trailer VIN verification to confirm identity, match the frame to paperwork, and avoid issues with theft, liens, or registration delays. Manufactured trailers use a 17‑character VIN and a certification label; you’ll locate it on the tongue/front rail, decode it, and cross-check make, model, GVWR, and axles while watching for tampering. Homemade trailers require receipts, build details, a state application, inspection, and an assigned VIN plate affixed properly. Get these steps right for a faster, smoother process—and more insights ahead.
Why VIN Verification Matters for Trailers
Whether you’re buying, selling, registering, or insuring a trailer, verifying its VIN protects you from costly surprises. You want peace of mind and a smooth path—VIN checks help you get both.
A verified VIN confirms identity, aligns titles, and proves the trailer’s story matches the paperwork. You avoid stolen property, mismatched numbers, and hidden liens that could block transfers or coverage. Lenders, DMVs, and insurers trust clean VINs, so your deals move faster. You also catch errors early, saving time and fees.
The process involves a physical inspection where an authorized verifier records key details and ensures the VIN on your trailer matches DMV records. When your trailer’s VIN checks out, you’re not just compliant—you’re confident, welcome, and ready to roll together.
Key Differences Between Homemade and Manufactured VINs
Blueprints matter: a manufactured trailer carries a standardized, 17‑character VIN assigned at the factory and tied to a brand, model year, and production data, while a homemade trailer gets a state‑issued VIN after inspection and documentation. You’ll see the difference in structure and certainty.
Manufactured VINs decode cleanly using WMI, VDS, and VIS segments. They match labels, titles, and build plates, giving you reliable parts and recall lookups.
Homemade VINs vary by state format and placement, often stamped on the tongue or a riveted plate. You’ll supply receipts, weights, and photos.
Both require a physical inspection documented on the REG31 form to confirm the vehicle’s existence and ensure the VIN matches the title.
Both are valid—just follow your jurisdiction’s rules.
Step-by-Step Verification Process for Manufactured Trailers
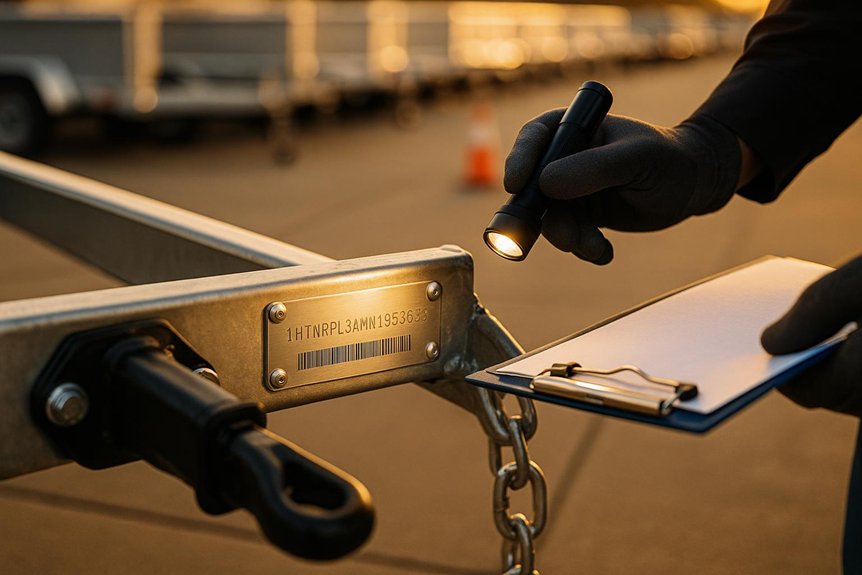
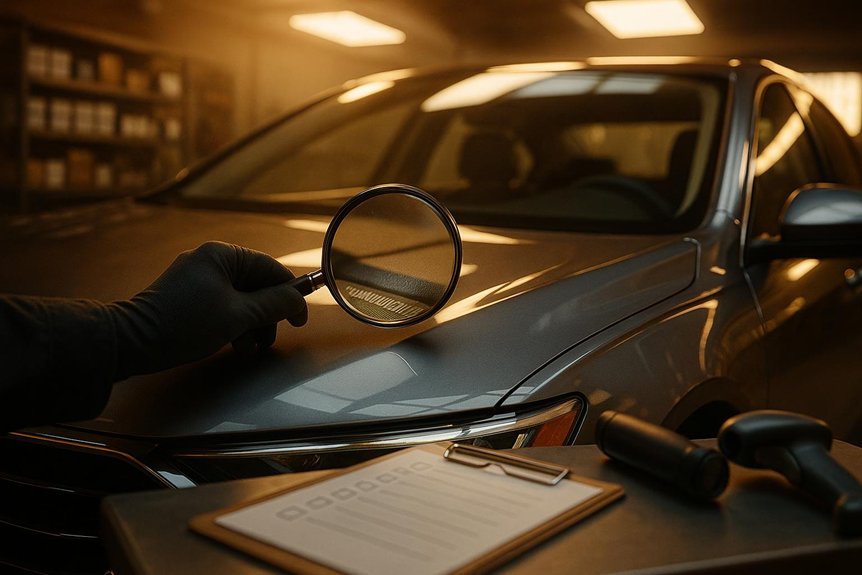
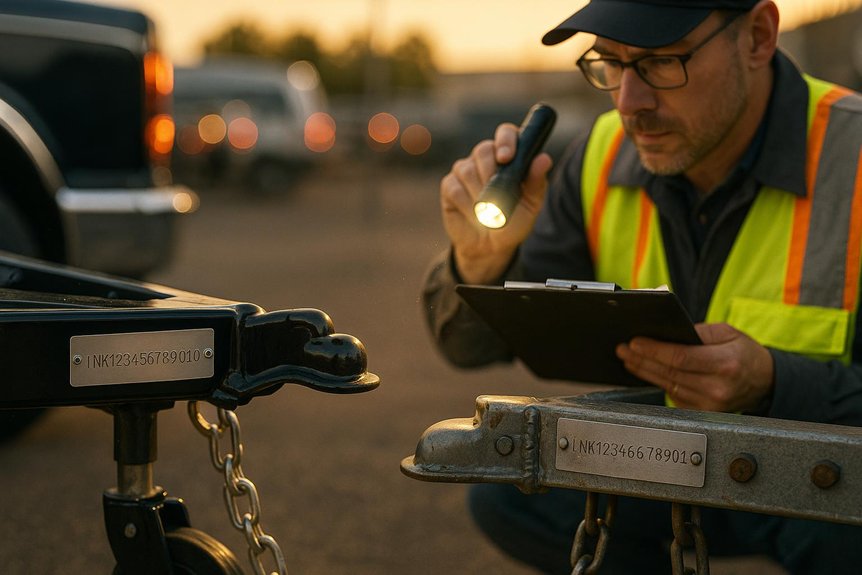
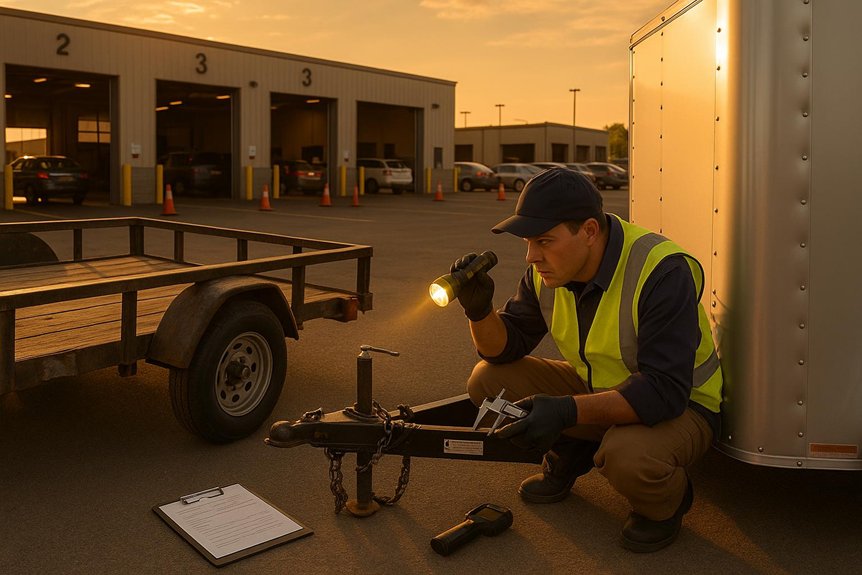
Now that you know how factory VINs differ from state‑issued ones, you can verify a manufactured trailer methodically. Start by locating the stamped VIN on the frame’s tongue or front rail, then confirm it matches the manufacturer’s certification label on the driver‑side front. Decode the 17 characters: WMI, attributes, check digit, model year, plant, serial. Verify the check digit and model year code.
Compare VIN data to the trailer’s make, model, GVWR, and axle count. Cross‑check with the title, registration, and bill of sale. Inspect for tampering: mismatched fonts, grind marks, loose plates, paint disturbances. Photograph everything. Document findings. For reliable results, consider using a comprehensive VIN database that provides accurate and up-to-date information across all vehicle types.
How to Verify and Assign a VIN for Homemade Trailers
Although homemade trailers don’t come with factory identifiers, you can still legitimize them by verifying specs and securing a state‑issued VIN. Start by documenting the build: frame dimensions, axle rating, coupler type, lighting, brakes, and weight. Take clear photos of the trailer and critical components. Gather receipts for materials and major parts. Then complete your state’s homemade trailer application and safety checklist.
Schedule an inspection with DMV, highway patrol, or an authorized verifier. Bring ID, proof of ownership for parts, and your weight slip. Once approved, you’ll receive a VIN decal or plate. Affix it as directed, engrave it on the frame, and keep copies.
Common Pitfalls and How to Avoid Delays in Registration
Steer clear of preventable snags by double‑checking the basics that most applicants overlook. Match the VIN on the frame to every form. If it’s homemade, guarantee the assigned VIN plate is permanently affixed and legible. Bring proof of ownership for major components—receipts, bills of sale, or affidavits.
Confirm your weight, axle rating, and lighting meet state standards. Photos help inspectors feel confident you’ve done it right. Book your inspection early and arrive with valid ID, insurance, and completed applications. Don’t forget sales tax documents.
If anything changed since your appointment was set, update the scheduler. You’ll move through with the group.
Frequently Asked Questions
Can I Verify a Trailer VIN if the Tag Is Damaged or Missing?
Yes, you can. Contact your DMV or local law enforcement for a VIN inspection. They’ll check frame stampings or secondary locations, verify ownership documents, and issue a replacement VIN tag so you’re road-legal and included.
Do States Accept Digital Photos as VIN Verification Evidence?
Yes, some states accept digital photos, but many still require in‑person inspection or certified forms. You’ll strengthen your case by submitting clear, timestamped images, multiple angles, supporting documents, and contacting your DMV to confirm their exact verification requirements.
How Does a Salvage Title Affect Trailer VIN Verification?
It complicates verification. You’ll need proof of repairs, receipts, and salvage documents. Expect stricter inspections, VIN plate checks, and possible bonded title or CHP/state trooper verification. Bring photos, weight slips, and identity. Ask DMV for approved forms.
Are Out-Of-State Trailer VIN Inspections Recognized Locally?
Yes, often, but it depends on your local DMV or law enforcement rules. You’ll bring certified inspection paperwork, IDs, and the trailer. If required, you’ll get re-inspected locally. Call ahead so you’re aligned and welcomed.
What Fees and Turnaround Times Should I Expect for Verification?
Expect $10–$75 in fees, depending on agency and mobile service. Turnaround’s usually same-day on-site, 15–30 minutes, or 1–3 business days if scheduled. Bring ID, proof of ownership, and receipts. You’ve got this—we’re right here with you.